Learn The Ins and Outs Of Indoors and Vertical Aquaponics! Part 5
For parts 1 through 4 click these links:
Part 1
Part 2
Part 3
Part 4
Vertical Aquaponics, Part 5:
High-Density Planting Strategies And Specialized Techniques For All “Greens” Crops
This is the million-dollar secret high-density planting strategy Susanne developed in 2010; although this is covered in much greater detail in our manuals and our live courses (17 pages in the manual, with lots of photos; and a 1-1/2 hour presentation in the live course), we have NEVER presented this information publicly except at our live courses. We use this in our proprietary vertical aquaponics systems, which you’ll see a little later in this series of articles.
We’ve put a simplified version into this article. All the information is here for you. If you’re smart; you can figure out our planting system. Susanne figured this out on NO information; she just invented it. She’s really smart. Want the complete version with lifetime free technical support? Purchase the Commercial Aquaponic DIY Package, or come to one of our 5-day live courses.
1. Soak your coconut coir in aquaponics water overnight, then it breaks up easily; mix with 40% vermiculite by eye to make potting mix; be sure to wear a cartridge respirator until the vermiculite is damp and no longer a breathing risk.
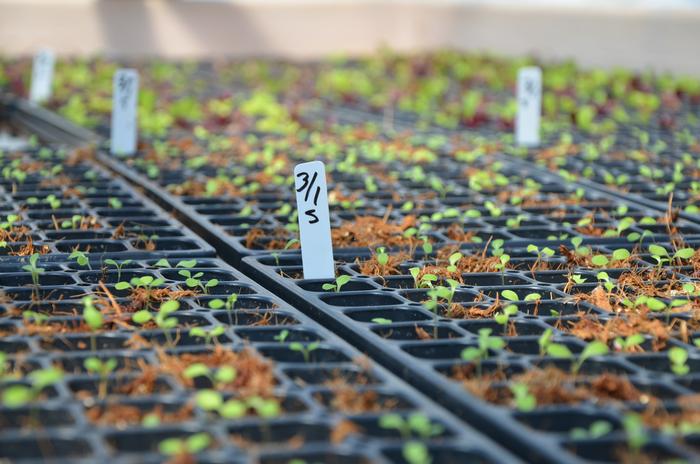
2. Fill 98-cell nursery trays by putting a number of trays on a work table and dumping the mix on top of them, then “sweeping it” from tray to tray until it fills them all; pick up each tray by the ends and bump it down onto the table 2 or 3 times to “settle” the mix in the cells.
3. Plant by hand by putting seeds directly on top of the potting mix in the trays, using pelleted seed whenever possible. There is no need to “dimple” the potting mix first; simply put the seed on top.
4. Sprinkle a light covering of plain vermiculite on top of each tray, wearing a cartridge respirator if using dry vermiculite. Top-water the trays with a watering can using aquaponic water, then place into the sprouting tables.
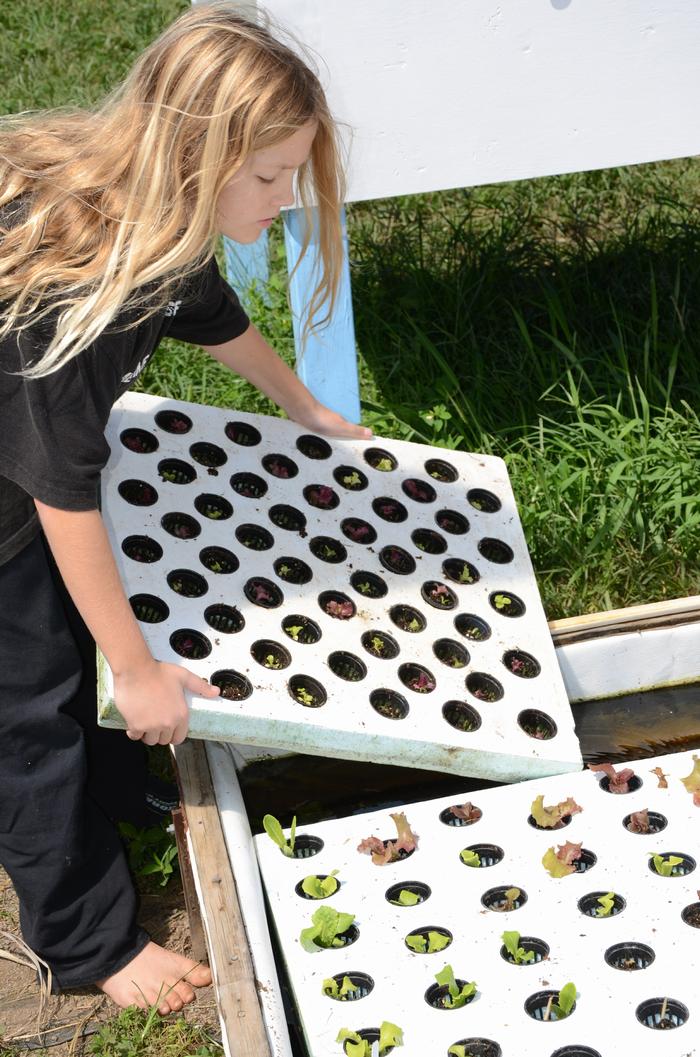
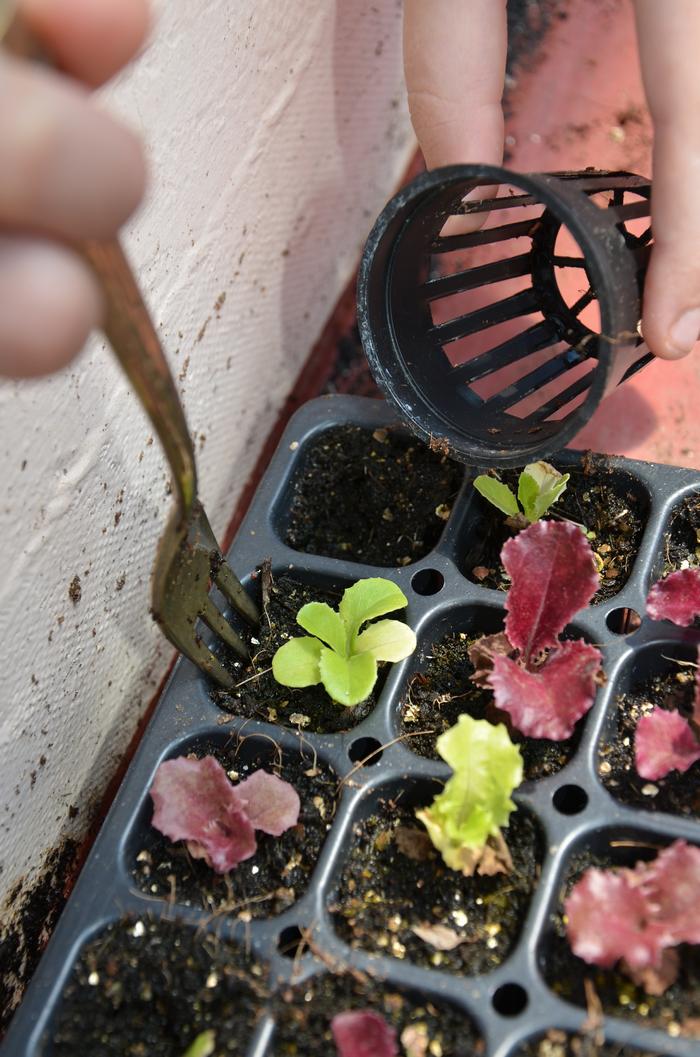
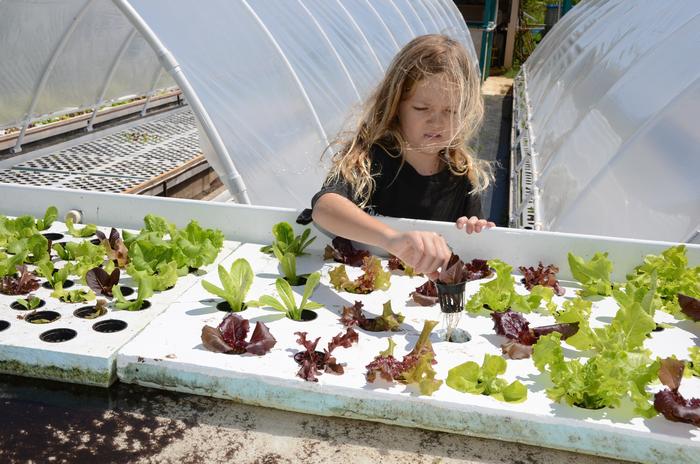
5. Keep sprouting tables and sprout trays at least 70 degrees F until the roots have just barely come out of the holes in the bottom of the nursery trays, then transfer into 2-inch slit pots and into your 55-hole 2-foot by 2-foot rafts in the aquaponics system. We use little 3-prong dessert forks for this; we tried everything and found they were perfect! When you do this transfer, CULL OUT all stunted and unhealthy plants and put them in the compost! (how can you do that to the poor little baby plants?) They never do catch up, and if you transfer them to the rafts, you’ll have wasted your labor and money on a substandard produce item you won’t be able to sell. We typically cull 15% here WHEN EVERYTHING IS PERFECT!

6. When the plants have grown around 4-5 inches high, transfer them from the 55-hole rafts to the 34-hole rafts for final grow-out and harvesting. Once again, CULL OUT all stunted and unhealthy plants during this transfer also! We typically cull 15% here WHEN EVERYTHING IS PERFECT! As a result of these two culling steps, each raft of greens we harvest out of the system is nearly perfect! 
Because of the higher density of the plants in “the 55’s” (13-1/2 plants per square foot), you end up with an average of 6.45 plants per square foot of system area when combined with the 4 plants per square foot in the 34-hole 2-fot by 4-foot grow-out rafts.
7. Another way to use the 55’s is to plant green onion, chive, radish, or leek seeds directly into the 2-inch slit pots, and bypass the sprouting table completely, putting the pots directly into the aquaponics system for these plants to grow all the way to maturity. This puts an incredibly high density of these plants into each square foot of the system.

Very very good job and thanks for sharing such
a fantastic blog.
Best regards,
Dinesen Duke
My web blog … Bars Near Me